Removing acrylic nails requires proper care and method to avoid damaging your natural nails. While it is possible to remove them at home, it is generally recommended to seek professional assistance for safe and effective removal. However, if you prefer to remove them yourself, here is a step-by-step guide:
Materials Needed for Acrylic Nail Removal:
- Acetone
- Aluminum foil
- Nail file or buffer
- Cuticle oil or moisturizer
Step 1: Prepare the Work Area
Ensure you have a clean and well-ventilated area to work in. Protect the surface with a towel or paper towel to catch any spills.
Step 2: File the Surface
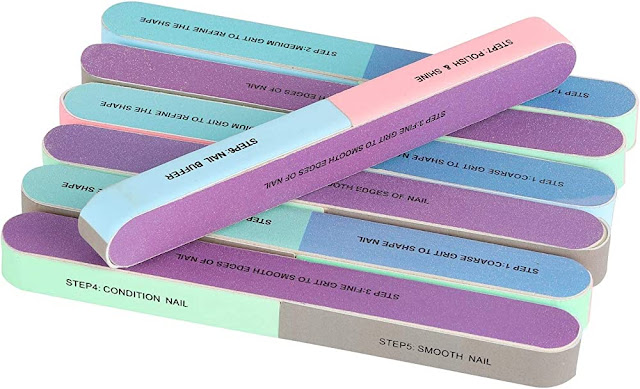
Using a nail file or buffer, gently file the shiny top layer of the acrylic nails. This helps to break the seal and allow the acetone to penetrate.
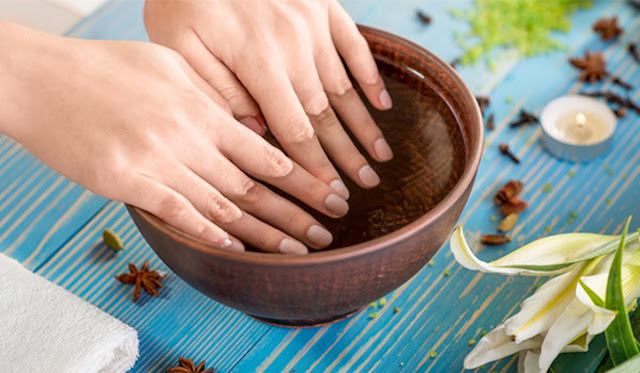
Step 3: Soak the Nails
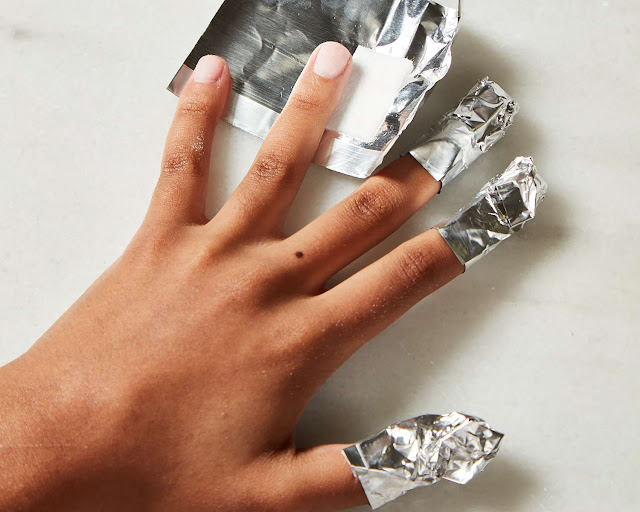
Cut small pieces of aluminum foil that are large enough to wrap around each finger. Soak cotton balls or cotton pads in acetone and place them on top of each nail. Wrap the aluminum foil tightly around each finger to hold the cotton in place. Leave the foil wraps on for approximately 15-20 minutes to allow the acetone to dissolve the acrylic.
Step 4: Check the Progress
After 15-20 minutes, gently remove one foil wrap and check if the acrylic has softened. If it has, you can proceed to the next step. If not, re-wrap and continue soaking for a few more minutes.
Taking one finger at a time, remove the foil wrap and use a gentle twisting motion to slide off the softened acrylic. Be patient and avoid forcing or prying the acrylic, as this can damage the natural nail.
Step 6: Buff and Moisturize
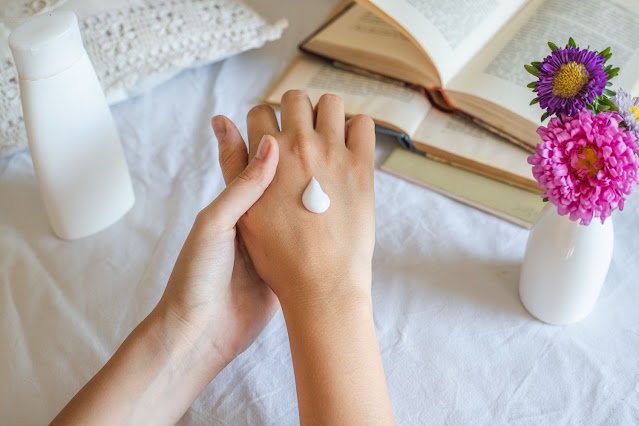
Once the acrylic is removed, gently buff the surface of your natural nails to smooth out any remaining residue. Avoid excessive buffing, as this can thin the nails. Apply cuticle oil or moisturizer to hydrate and nourish the nails and cuticles.
 |
| Buff and Moisturize |
Step 7: Repeat for Remaining Nails
Repeat steps 3 to 6 for each finger until all acrylic nails are removed.
Step 8: Post-Removal Care
After removing the acrylic nails, it's essential to give your natural nails some extra care. Keep them moisturized with cuticle oil or moisturizer, and allow them to breathe and recover before applying any new enhancements.
Remember, professional removal is the safest option to ensure minimal damage to your natural nails. If you encounter any difficulties or experience discomfort during the DIY removal process, it is advisable to seek assistance from a professional nail technician.


0 Comments